Whichever of the above, this Factorio early game walkthrough is here to help. I’ll take you along for the ride as I play through my first hour or so of a new Factorio world; and in that time, I’ll show you how to be productive with your first steps, so you can create a solid foundation which you can then turn into a glorious, pollution-chugging factory.
Factorio early game walkthrough
Skip below if you want to get stuck straight into my Factorio early game walkthrough. But first, a couple of points worth quickly mentioning:
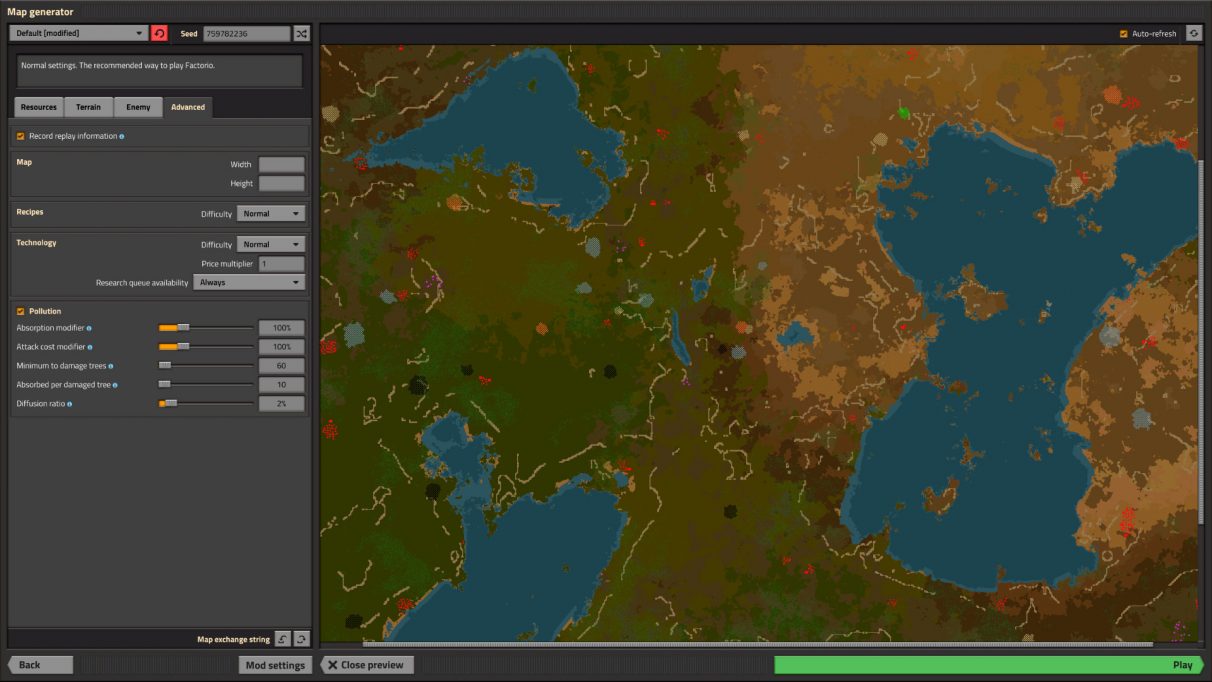
I’m using several non-game-changing Factorio mods in this walkthrough (Bottleneck, Even Distribution, EvoGUI, and Squeak Through). All of these can be found in our Factorio mods for 1.0 guide. None of them change the game, so you’ll still be able to use this walkthrough as a guide for your own games. I am by no means a Factorio master, nor a speed-runner. But I do have 850 hours in Factorio at the time of writing, and I know how to start strong in a new world. Hopefully you’ll gain some use from this walkthrough. The seed for the world in this walkthrough is 759782236, if you wish to play along in the same world as me.
Starting a new game of Factorio
First step is setting up your new world. If you’re the type to leave your world up to chance, then skip this section. Otherwise, there are a few things you might want to look for when picking your world:
Plenty of nearby iron, copper, and coal (and at least a little stone). All the ore patches clustered around your starting area should ideally have a bit of space between them. Green areas with plenty of forest will help absorb some pollution, which can give you more time before the Biters come a-knocking. Look for natural chokepoints to help with defending your factory, but make sure the space you’re left with is large enough to fit everything you need.
I’d also recommend that Factorio beginners enable Peaceful Mode before they begin, as this will prevent Biters from attacking you until you attack them for the first time. Once you’re happy with your world and game settings, let’s get started.
Step 1: Iron, Coal, Copper, and Stone
Your first steps should involve getting the absolute basic resources up and running. Here’s what I do:
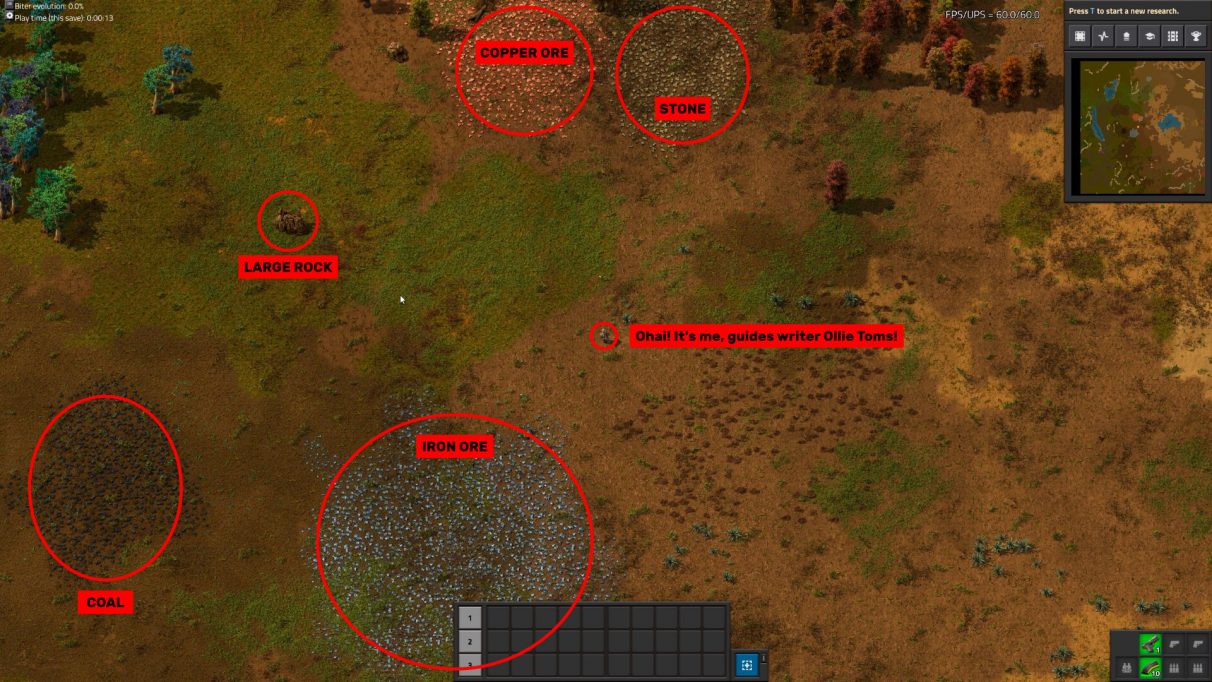
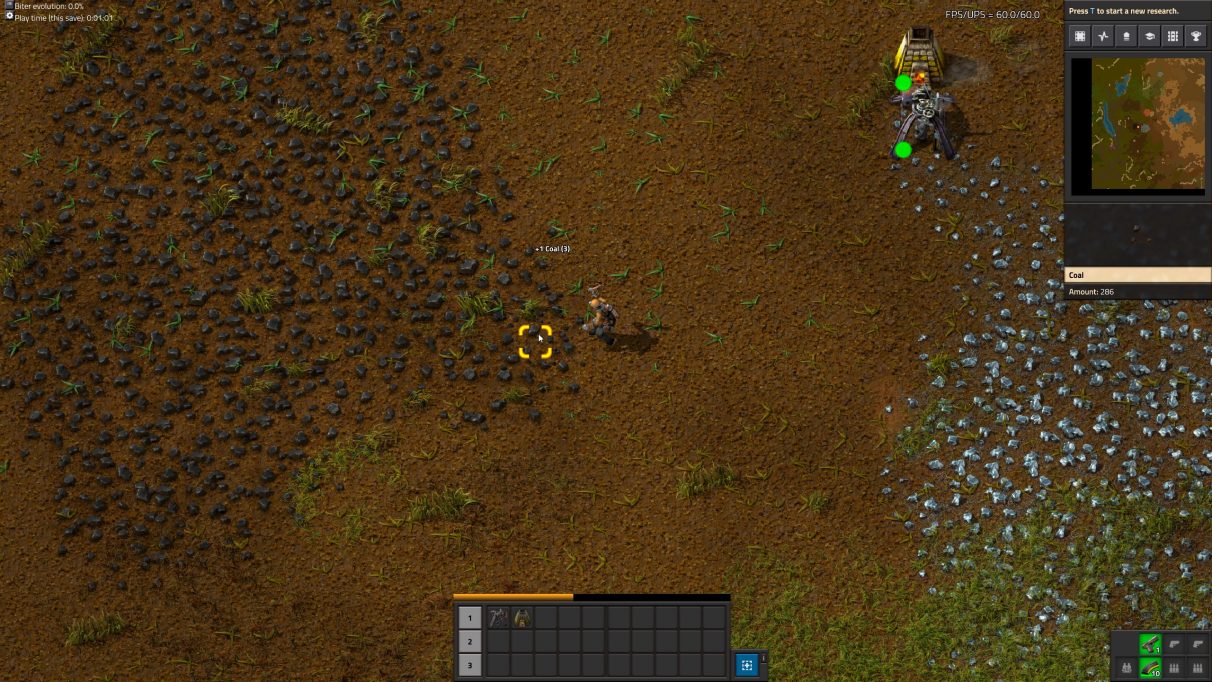
If there are large rocks nearby, then mine them before you do anything else. These rocks give you coal as well as stone, and they are by far the quickest way to obtain these resources early on. You start with a single drill and a furnace in your inventory. Place the drill on top of some iron, place the furnace adjacent so that the drill feed directly into it, and place some coal in both. Manually mine some coal while you wait for the furnace to smelt iron ore into plates.
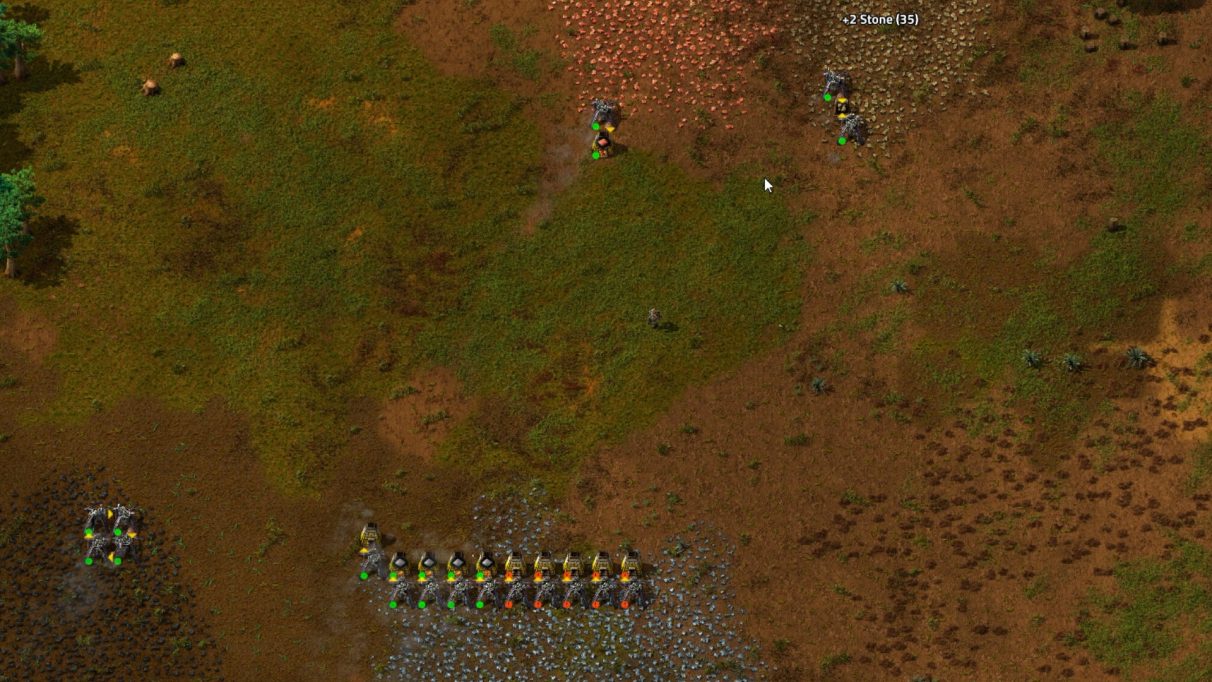
When you get enough plates and stone, create a couple of new drills and place them on your coal patch, both feeding into each other. Then place 1 coal inside one of the drills. This provides an endless source of coal until both drills are filled up. You can now periodically go back and collect coal from these drills whenever you need more coal. Continue to build new drills and furnaces as you get enough plates, and place them onto your iron patch so you can increase your iron plate production rate. After you have perhaps 5 pairs of miners/furnaces on iron, place a new pair on the nearest copper patch. Next, place a drill or two on stone, and have them simply output raw stone into a chest. Continue filling your drills and furnaces with coal, and building more of both, until you have around 8-16 pairs on iron, 4-10 on coal (all feeding into each other), 1-3 on copper, and 1-3 on stone.
While all this is going on, chop a few trees (prioritise trees that are on top of your ore patches, as they’ll need to be removed anyway), and continue to mine any large rocks in the vicinity.
The beginnings of Steam Power and Science
After you’ve got the basics set up on each of your four ore patches (which should only take about 5-10 minutes), you’ll need to get power up and running so you can start researching new technologies. Here’s what to do:
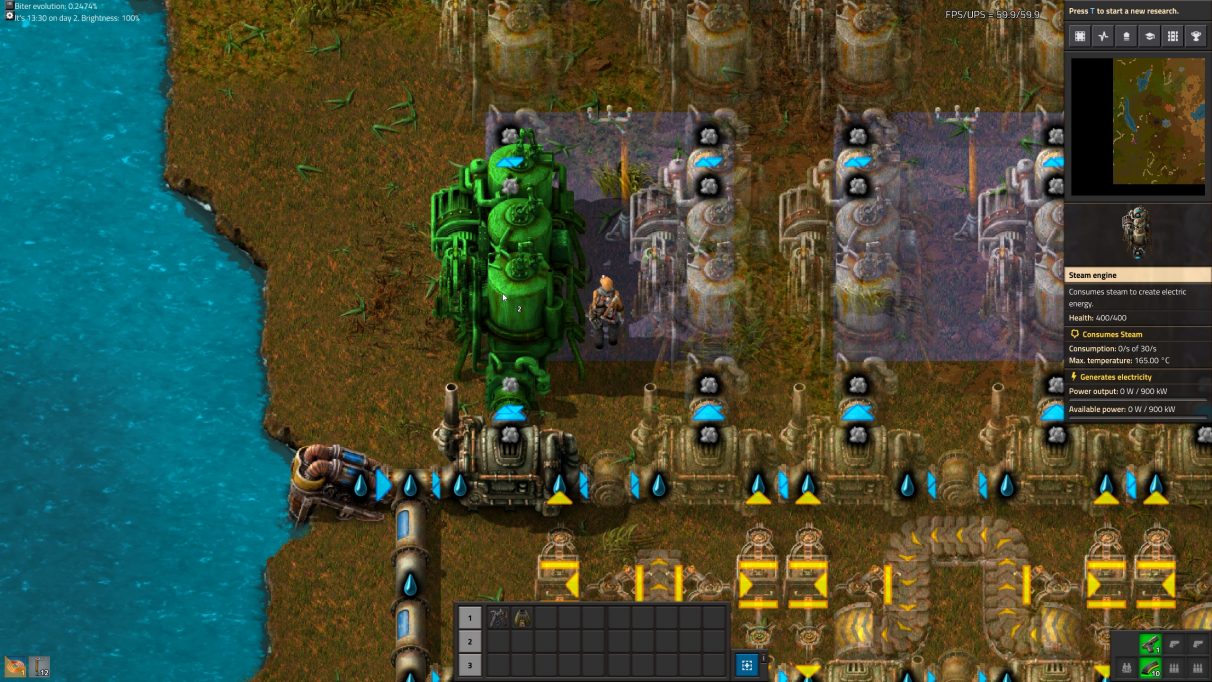
Build an Offshore Pump, a Boiler, two Steam Engines, and 10-20 Pipes. Find the nearest source of water which has a large amount of empty land adjacent, and place your Offshore Pump on the coast. At this point I like to place down a blueprint for my future Steam Power module of my factory, so I can plan ahead in terms of space and resources. You can find the exact blueprint I use on our Factorio blueprints guide.
Whether or not you use a blueprint, connect your Boiler to your Offshore Pump, and connect your two Steam Engines to your Boiler (you can chain Steam Engines together in a line with a Boiler on the edge, and both Engines will take in the Steam from the Boiler). Construct some Small Wooden Poles. Place one adjacent to your Steam Engines, and then place one or two more, extending out in a line to a nearby patch of free space. Around your final pole, place two Labs. Then hit “T” (by default) to bring up your Research screen, and select Automation as your first tech to research. Craft 10 Red Science, placing them inside your Labs (split evenly between both) as and when you finish crafting them, until the Automation technology is completed. If you have free time while you wait, check back on your ore patches, making sure everything is fuelled and collecting any iron, copper, coal, and stone you’ve obtained.
Generally in Factorio you’ll want to minimise the amount of manual crafting you do. But to do that, you’ll need to research Automation, which unlocks the Assembling Machine. Once you’ve done that, we can start to make life easier.
First steps towards automation
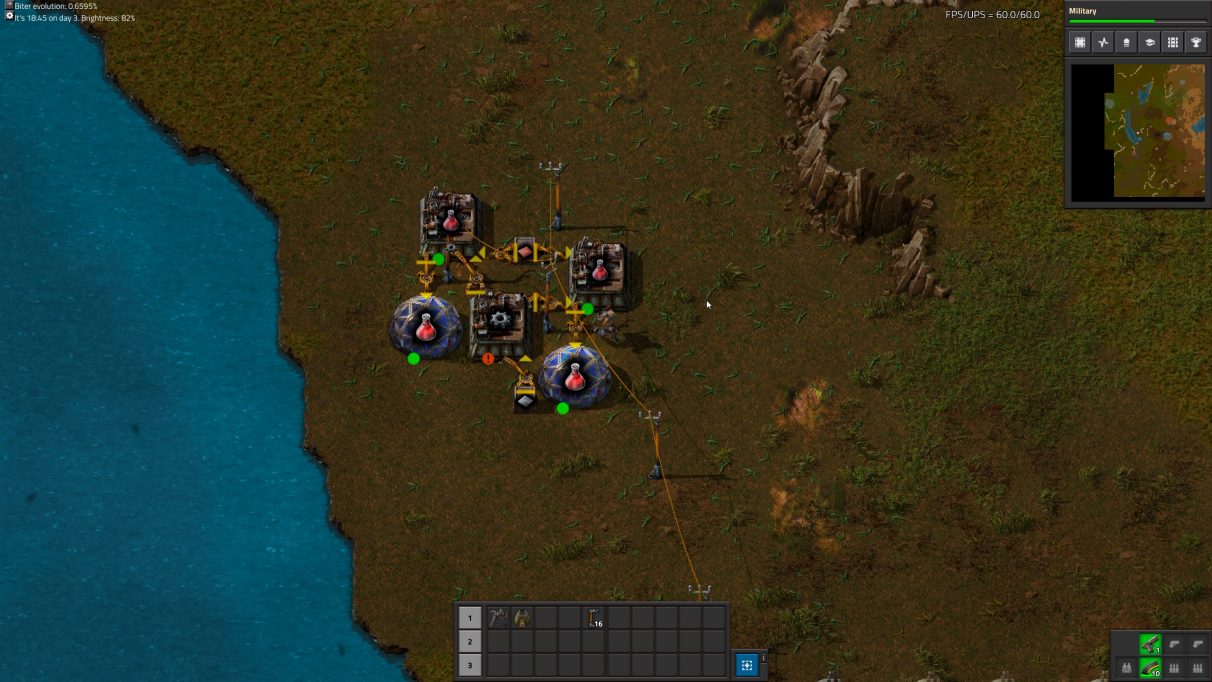
Want to know what “making life easier” looks like? Check the screenshot below.
It may look complex, but it’s dead easy to set up, and it means you’ll never have to manually construct Red Science ever again. In a nutshell, this tiny module turns iron plates into gears, and then turns those gears (along with copper plates) into Red Science, which are then fed into your Labs. Automatically. This is when you start truly playing Factorio.
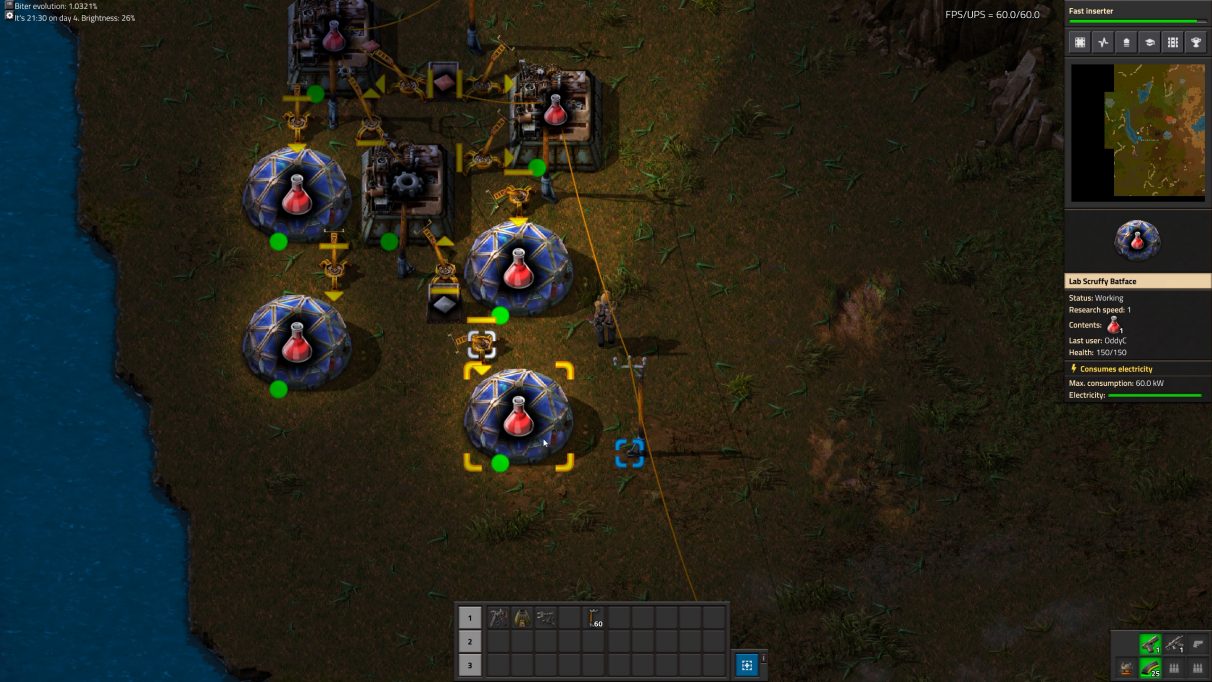
You will need: 3 Assembling Machines, 7 Inserters, 2 Iron Chests, and enough Small Electric Poles to power it all. Deconstruct your two Labs, because you’ll be using them as part of this construction. Use the above screenshot as a guide when placing each component, and make sure the inserters are all oriented correctly (use “Alt-Mode” to view all orientations by tapping Left Alt). Fill the top chest with Copper Plates and the bottom chest with Iron Plates. For the time being, you’ll need to manually refill these chests when needed. Once this automated research complex is set up, queue up the following techs in this order: Logistics (gives you Underground Belts and Splitters) Military (gives you the Submachine Gun) Turrets (gives you Turrets… duh) Electronics (required in order to research…) Fast Inserter (again, pretty self-explanatory) Logistic Science Pack (gives you green science, which is needed for most techs in the game) Weapon Shooting Speed 1 (makes you and your turrets more powerful) You may find that this assembly area will build Red Science faster than your Labs can use them. This being the case, all you need to do is build a couple more Labs and daisy-chain them together with Inserters, as per the screenshot below:
Your first project: Full Steam Power Module
So far you have hopefully been filling up gaps in your time topping up your mining areas with coal, and collecting iron and copper plates from your furnaces. But once Logistics is researched you can start to busy yourself with your first major project: expanding your Steam Power module.
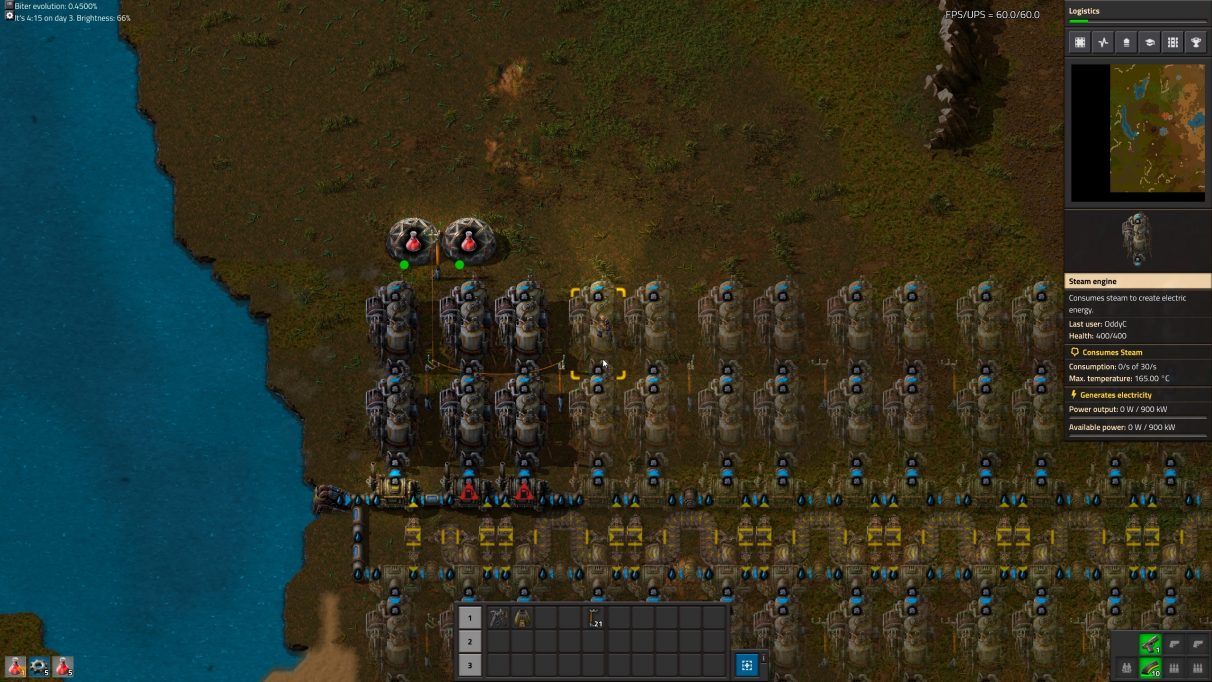
A single Offshore Pump provides enough water for 20 Boilers, which together generate enough steam to power 40 Steam Engines. Steam Engines are bloody expensive to build manually, so we won’t bother with all of those yet - but we can place down everything else in preparation, then add Engines gradually to meet our steadily increasing power demand. The blueprint I use contains two such Steam Power modules, and when filled it will take us very comfortably through the early game and much of the mid-game too. The Boilers are fed by a belt of coal which we weave around sets of burner inserters. These inserters will plonk coal into chests, which are then collected by more inserters and placed straight into the Boilers.
Logistics is required for this blueprint, because you need Underground Belts in order to weave the belts around the inserters and chests. Make sure also to place down poles so that you can hook up all this incoming power to your grid.
Preparing for the Biters
If you decided to enable Peaceful Mode, then setting up defences won’t be as pressing a matter. But if you didn’t, then you’ll want to start constructing basic turret defences the moment you unlock Turrets.
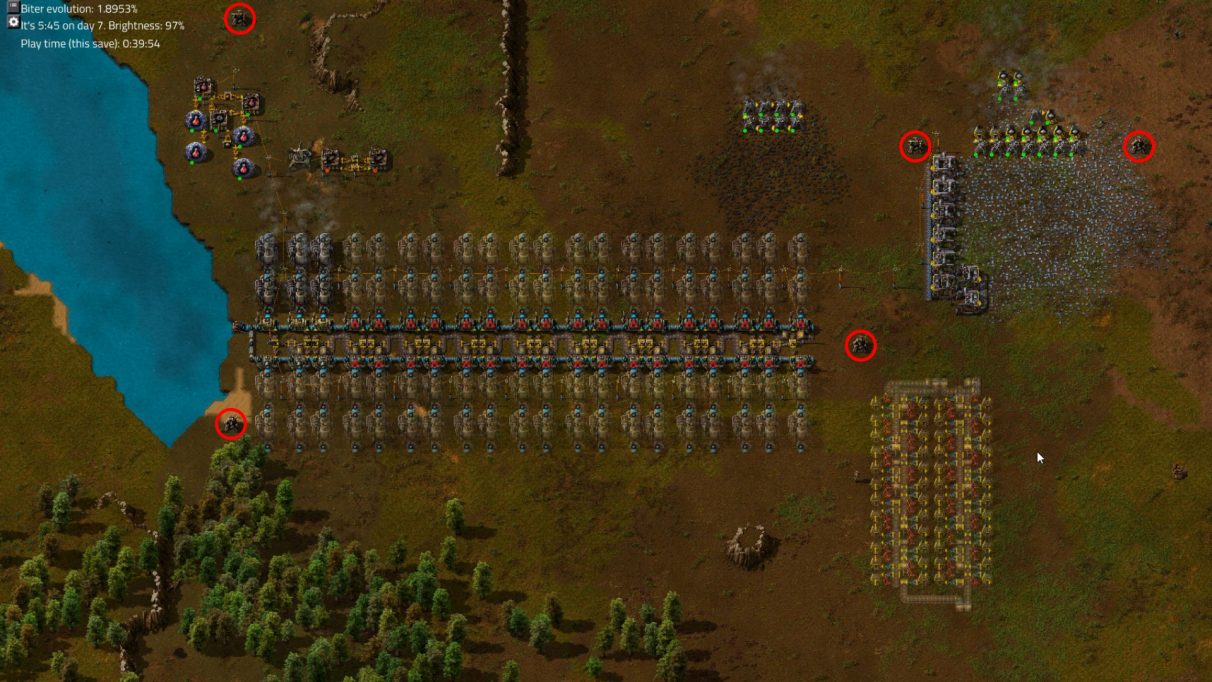
The moment you finish researching Military, build and equip a Submachine Gun in your main weapon slot. The SMG is by far your strongest personal defence tool for the time being. The moment you finish researching Turrets, build 10 Turrets. Place them near your other buildings, focusing on where you are expecting to be attacked (i.e. in the direction of the Biter nests you can see on the map).
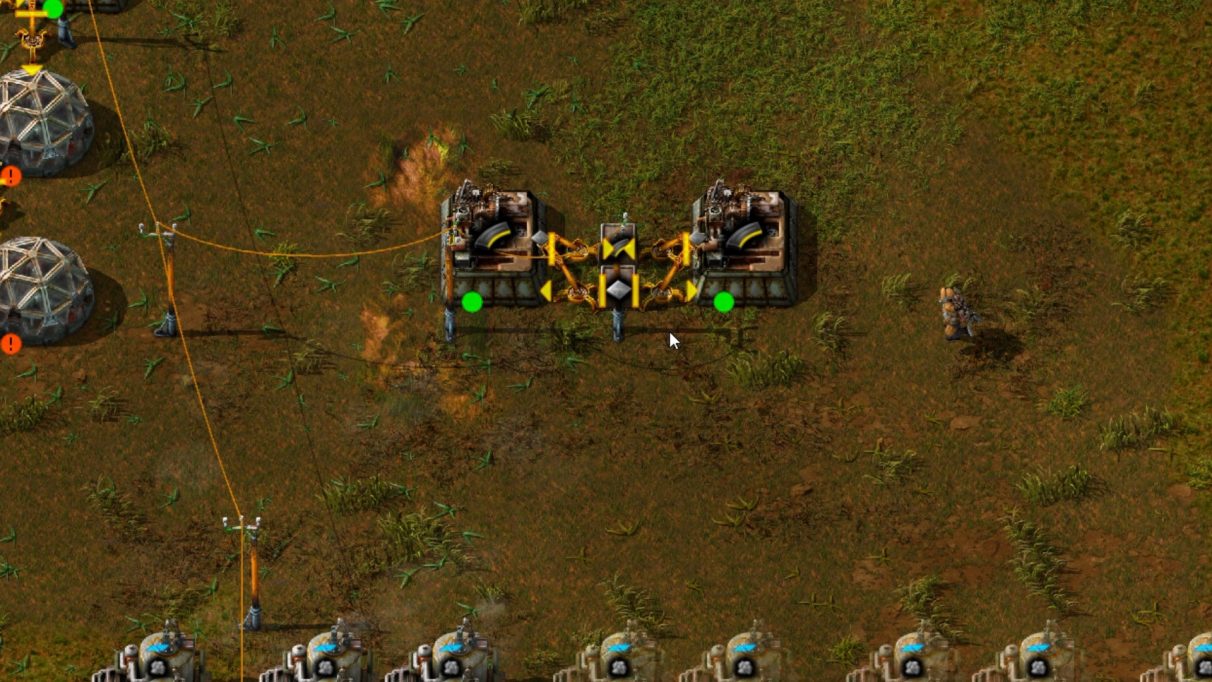
You’ll need to keep these Turrets fed with ammo (as well as keeping enough ammo on your person to assist with defences in a more flexible manner). To help provide enough ammo for your needs, it’s well worth setting up a quick and dirty ammo-making module out of a pair of Assembling Machines. Fill a chest with Iron, have inserters move the iron into each Assembler, and then have the Assemblers output ammo into another chest. See my example below.
Keeping things running smoothly
At this point, there are a few things that you can be getting on with, so it’s worth just quickly outlining them here:
As always, continue to check back on your ore patches, ensuring that they stay fuelled with coal, and taking any resources that your structures have output since your last visit. Continue to add to your steam power module as needed. When you build your first few Electric Mining Drills, place them on coal, so that you can start to feed a belt of coal into your boilers. Be mindful of Biter attacks. Check how your defences are holding up whenever there’s a Biter attack, repair as necessary with Repair Packs, and keep all your turrets filled with ammo. Research every technology that requires only Red Science. The order doesn’t matter too much at this point. Keep topping up the chests that supply your Assembling Machines.
Your first full belt of Iron Plates
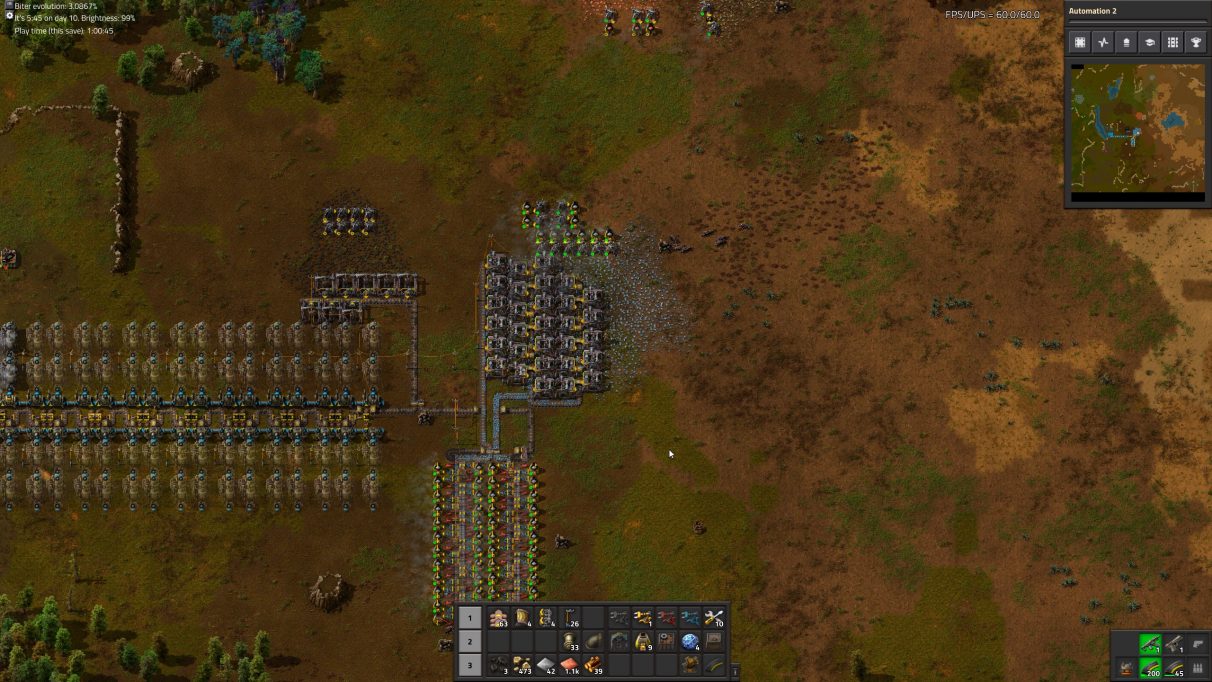
By around the 40 minute mark in my world, I’ve finished all the pure Red Science techs, hooked up some coal miners to my Steam Power module, and adequately defended my base from the first few Biter attacks. Now it’s time to embark on our next big project: putting together the first full belt of Iron Plates.
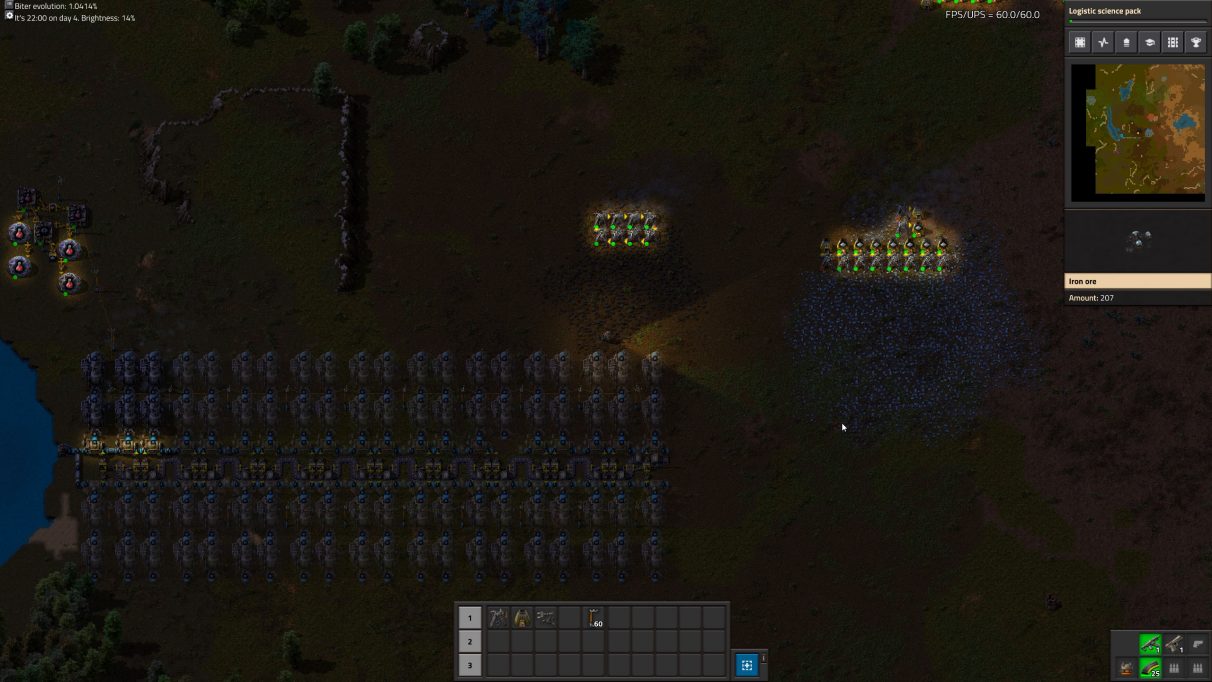
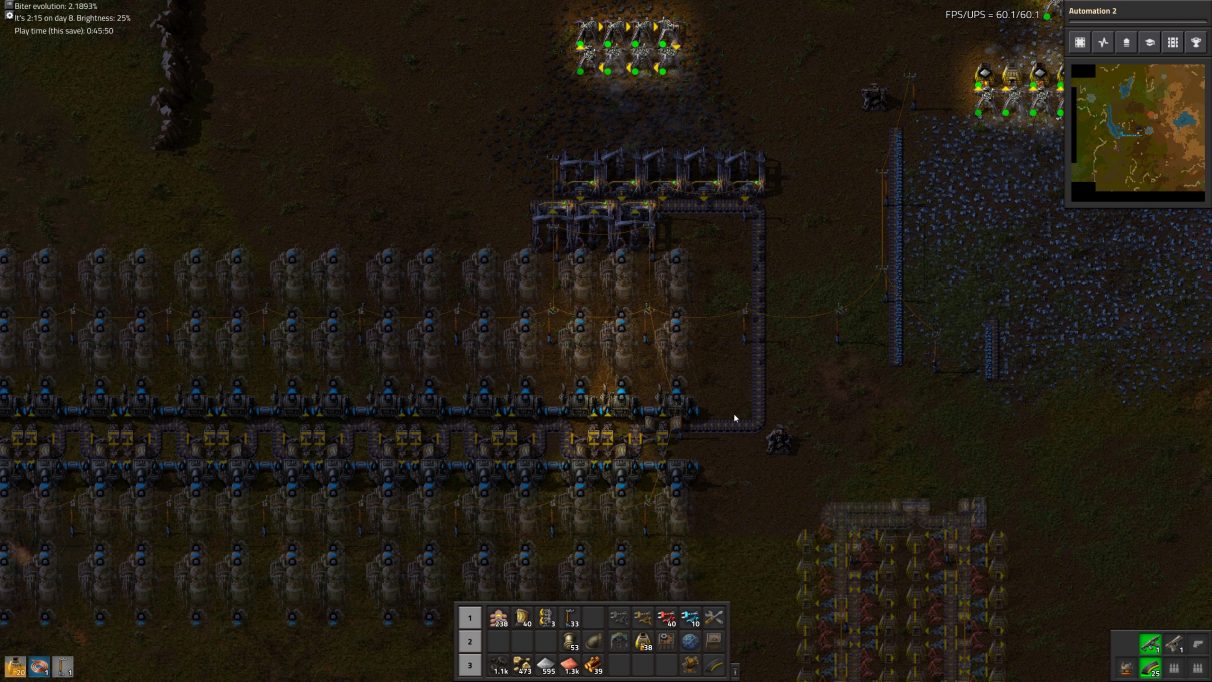
As always when embarking on a medium-to-large project, I’ll start by plopping down a blueprint. This blueprint is a smelting module with 48 stone furnaces (the exact number you need to smelt a full yellow belt of iron plates). There’s also a load of belts, splitters, underground belts, poles, and - the most expensive aspect of this module - 48 fast inserters and 48 long-handed inserters. Notice that there are two belt inputs for this module. They are interchangeable, but one must be for Iron Ore (to smelt), and the other for Coal (to fuel the furnaces). Make sure you orient the module so that those inputs are pointing in the general direction of those ore patches, making it easy to hook them up with belts. You can construct those 96 inserters manually (it’ll take about 7 minutes), or, if you want to be truly Factorian about it, you can construct a little module to help speed up this process. I didn’t actually do this at the time in my world, I just crafted it all manually. But with this module, you can learn how to improve on what I did.
Pictured above is a very small Green Circuit construction module. Later on you can expand it out and replace the chests with input and output belts carrying the relevant materials, but for now this will do nicely. The construction of green circuits is what really slows down the manual crafting of inserters (not to mention Electric Mining Drills, which we’ll also be needing lots of soon), so place this module somewhere nearby, hook it up to power, fill the chests with copper plates and iron plates, and then periodically go back to pick up the green circuits. With a nice stack of green circuits in your inventory you’ll find that crafting the inserters takes far less time. Once that’s done, it’s a simple matter of finishing up your smelting module. Once the smelting module is ready, you need to start properly mining your iron ore patch. You’ll need 30 Electric Mining Drills to fill up a yellow belt with ore. There are all sorts of ways to lay out your miners on a patch of ore, but this is how I like to do it:
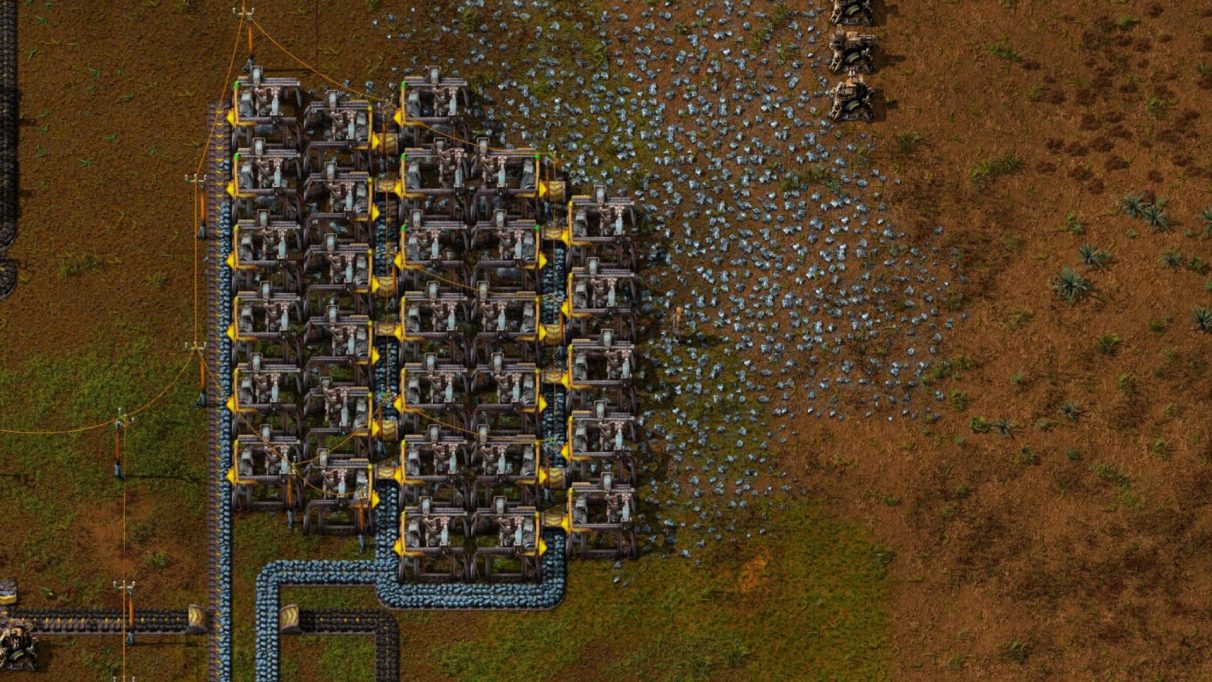
What you’re seeing here are nice straight columns of drillswith belts between them, making the drills easy to count and the belts easy to manage. The only downside is that the power poles need to be placed in the middle of the belts, so you’ll need to use underground belts to hop over each pole, increasing the cost of the entire module. But it’s worth it. Make sure that you don’t place too many drills on a single side of a belt at any time. It takes 30 drills to fill a belt, which means you can have no more than 15 drills on a single side. But other than that, just hook it all up to your furnaces, hook up your coal in a similar manner, and you’ve got your first full belt of iron plates up and running - all within an hour.
Next steps - from early game to mid-game Factorio
This is as far as I’ve taken my walkthrough world, but I’ll end this guide with several next steps to help pave the way for you to exit the early game and enter the mid-game.
After your first full belt of plates (which should always be iron), the next step should be to do exactly the same with copper. With a full belt of each of these vital resources, you can dismantle your old burner mining drills for good. To continue with research, you’ll need to automate Green Science. Once you have a full belt of copper and iron ready, this is a very good time to place down our early game science blueprint from our Factorio blueprints guide, and begin to fill it in and hook everything up. With Science up and running once more, you should research towards Automobilism and construct your first car. Suddenly your mobility is drastically greater than before, and you’re better able to respond to threats and move about your ever-expanding factory. Fill up all ore patches in the immediate vicinity with drills (and, in the case of iron or copper, as many furnaces as it takes to smelt the ore into plates). Begin construction of your main bus. A good beginner’s main bus should include 2-4 belts of iron, 2-4 belts of copper, 1-2 belts of green circuits, 1 coal belt, 1 steel belt, and 1 stone belt. This will be your largest project to date, but the good news is that once you’re finished, you’re pretty much in the mid-game. With a main bus, you can start to drastically increase the size of your factory and the production of just about anything you like.
Of course, while you’re doing all of this you should be expanding your steam power module to accommodate for your growing power demand, and keeping your factory well-defended against Biter attacks. If any Biters expand to a new nest that’s too close to your factory, take your car out and destroy it before it gets to deal any damage. Use Piercing Rounds and Grenades to destroy enemies quickly. After that? Just keep chasing the demands set by your research, friend. That’s the end-goal - completing enough research that you unlock the ability to build a rocket and finish the game. Of course, once you get to that point you’ll be too addicted to Factorio to actually stop playing after your rocket launch. You’ll probably want to tear everything down and create an even larger factory capable of launching a rocket every five minutes. Go ahead! We’ll wait. If you’ve any more questions that need answering, perhaps on a more specific topic than I was able to cover in this walkthrough, then be sure to check out our other Factorio guides by following the links below.
Factorio guide and top tips - Our practical top tips for Factorio beginners. Factorio early game walkthrough - How to ace your first weeks in a new Factorio world. Factorio mods for 1.0 - Here are the very best Factorio mods we’ve ever used. Factorio console commands - The most useful cheats in Factorio revealed. Factorio blueprints - How to use blueprints, and the best blueprints we’ve found.
